Thursday, December 19, 2013

D.I.Y all the time! Garland

D.I.Y all the time!

Garland 


Supplies: Ornaments, Ribbon and Tape.
 Any packet of a ornaments will work and in any color combination of your choice.

 Take the ribbon and twist the end tightly and tape the end. As if it was the end of a shoe lace.
 Run the ribbon through each ornament in any color pattern you like. When finished tie a bow tie at the ends.
 Place on a mantel or hang around your Christmas tree.
Done! A very simple and easy 15 minute project to add a little more holiday cheer to your home.

Thursday, December 12, 2013

D.I.Y all the time! Light bulb Ornaments

D.I.Y all the time!

Light bulb Ornaments


I noticed that the light bulbs in my restroom went out, so i thought it would be a great idea to recycle them as ornaments. Perfect time for the light bulbs to go out huh? I wanted to be really creative with one ornament and keep the second one a traditional ornament. So the first ornament i made was a Pokeball. Which i made for my boyfriend because he is still a kid at heart. I thought it would be a cute little simple gift. The second ornament is a classic ornament with glitter and a painted design to match.


 What you will need: -2 Round Light bulbs -Red paint - White paint -Black paint -Paintbrushes -Glitter (any color you'd like) -Funnel - Tape -2 bobbypins -Hairspray (Optional)

Pokeball

 
 What you first need to do is open the top of the Light bulb. I recommend having an adult do this step.


 Wrap tape around the top of the light bulb and the middle as well.

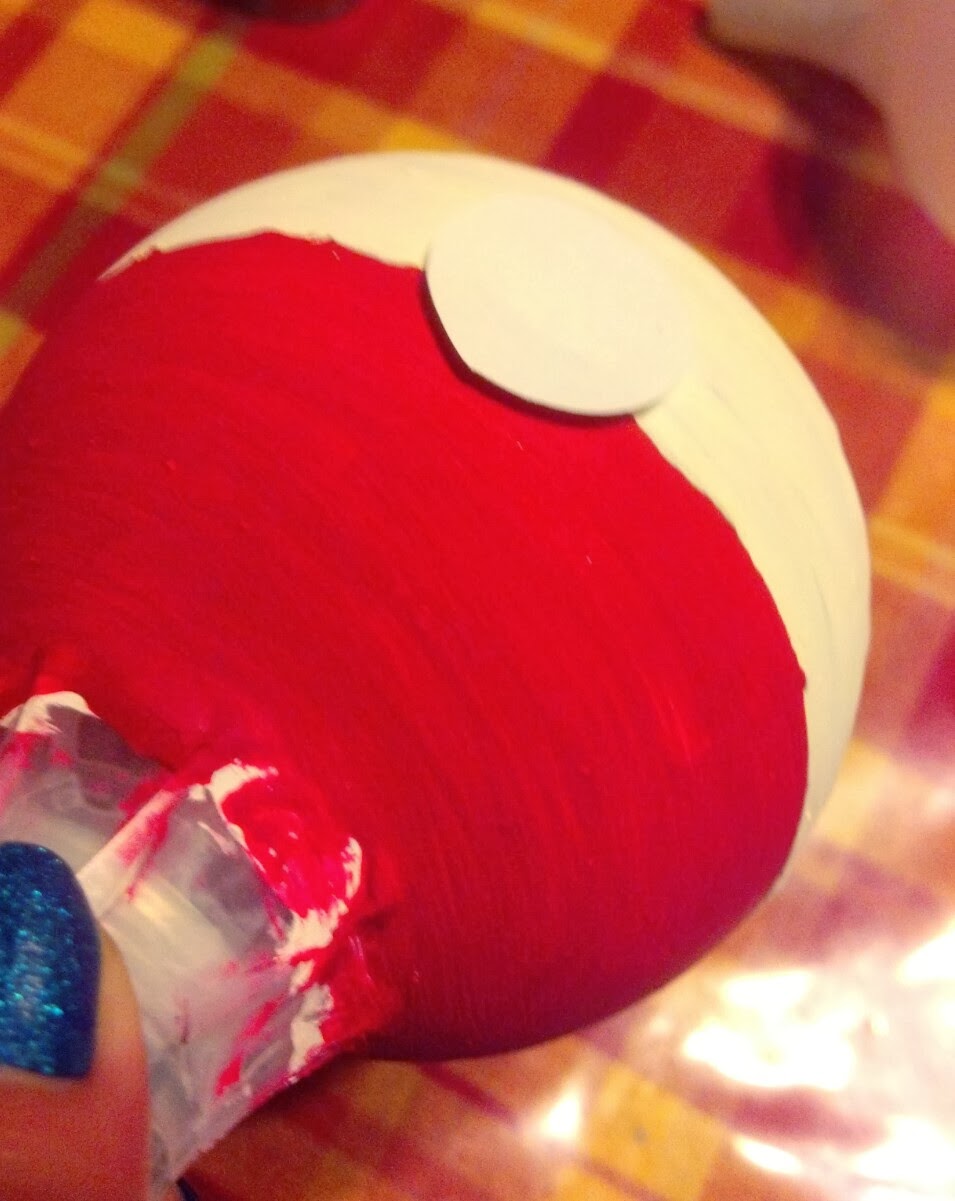
 Paint both sides white. Painting the top white before painting it red ensures a brighter red. Let dry.


  Paint the top half red. Add another white coat to the bottom. Let dry. Repeat step once more.


 Once dry remove the tape that was placed in the middle of the light bulb and paint it white. Let dry.

 Cut out a small circle the size of the "button" on a Pokeball. This will help as a guide line on where to stop when painting your black line.

 Paint a black line around where the red and white meet. Paint a circle around the "button" cut out.


 Grab a bobbypin and bend the ends out-words.


 Insert the bobby pin to light bulb and hook or tie ornament wire to bobbypin.


Classic Ornament


 Once again remove the top of the light bulb.


  Insert funnel into the light bulb.


 Add your glitter.  
*Here i did not use hairspray. The ornament still came out nicely but the glitter wasn't strong enough to my liking. So you can add hairspray in this step or continue without.


 Shake glitter around.
 This is what the light bulb should look like with out the hairspray.


For a stronger glitter presence add hairspray to ornament. Add glitter and shake.
-There may be extra hairspray that is watery. Go ahead and flip the ornament upside down and the hairspray will drip out.
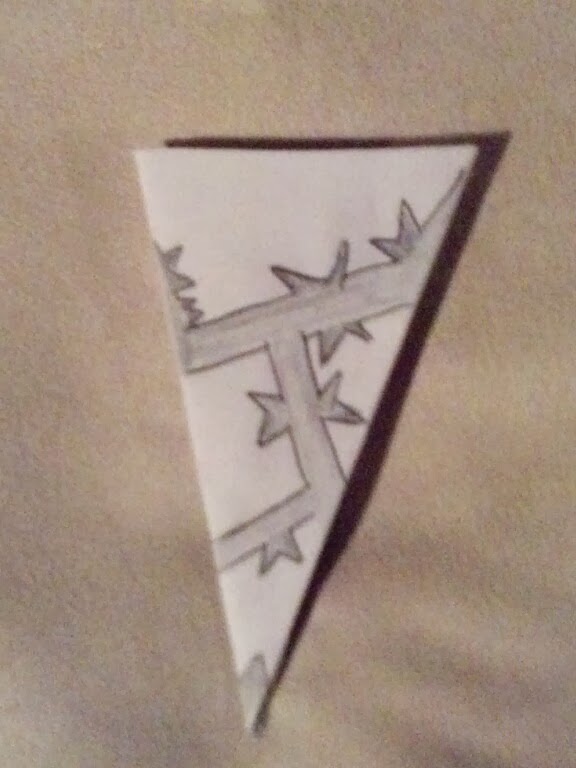
 This is what the ornament will look like if you add hairspray. Paint any design you like in white. 
Grab a bobbypin bend the ends out-ward.  Insert into light bulb and tie or hook on ornament wire.

Monday, December 9, 2013

D.I.Y all the time! Snowflake wall


D.I.Y all the time!    Snowflake wall
Supplies:   ~ Paper     ~Scissors     ~Pencil    ~Tape    ~Yarn
Grab one sheet of paper.


 Take the top left corner of the paper and bend it forward until it touches the right side edge of the paper.


 Once bent smooth down the edge. Cut where the black dashed line is located in the picture above.


 You should be left with a big triangle. Bend the triangle from corner to corner to form a smaller triangle.


 Once you have a small triangle grab one of the top corners and bend it roughly 60% half way in the opposite direction.


 Grab the second top corner and bend it to the opposite direction.


Cut the top two triangles peaking up from the top. Indicated where to cut on the picture above where the dashed line is. *I also made small snowflakes as well. To do so just cut the paper in half and proceed with the same process above.


 Here are a few examples of snowflakes i made ( I did not design these myself i got some designs off of Google.You may also find many more designs at different website). Feel free to draw these. What ever is shaded in pencil DO NOT CUT. Cut everything that is white.


 Here are a few other snowflakes i made.


 Cut a couple of very long pieces of yarn. I did not measure the length of the yarn i cut. I estimated from ceiling to about 1 foot off the floor. Then cut some shorter pieces of yarn half the size of the longer piece. Take a piece of tape and grab a snowflake. Tape the snowflake to the yarn. I taped the snowflakes in a random order, mainly taping the big snowflakes on the longer string and the smaller snowflakes on the shorter string.
 Lastly, tape the yarn to the ceiling in any random order in any wall in your home or even behind your Christmas tree to add a little more effect to your tree.