Supplies: ~ Paper ~Scissors ~Pencil ~Tape ~Yarn
Grab one sheet of paper.
Take the top left corner of the paper and bend it forward until it touches the right side edge of the paper.
Once bent smooth down the edge. Cut where the black dashed line is located in the picture above.
You should be left with a big triangle. Bend the triangle from corner to corner to form a smaller triangle.
Once you have a small triangle grab one of the top corners and bend it roughly 60% half way in the opposite direction.
Grab the second top corner and bend it to the opposite direction.
Cut the top two triangles peaking up from the top. Indicated where to cut on the picture above where the dashed line is. *I also made small snowflakes as well. To do so just cut the paper in half and proceed with the same process above.
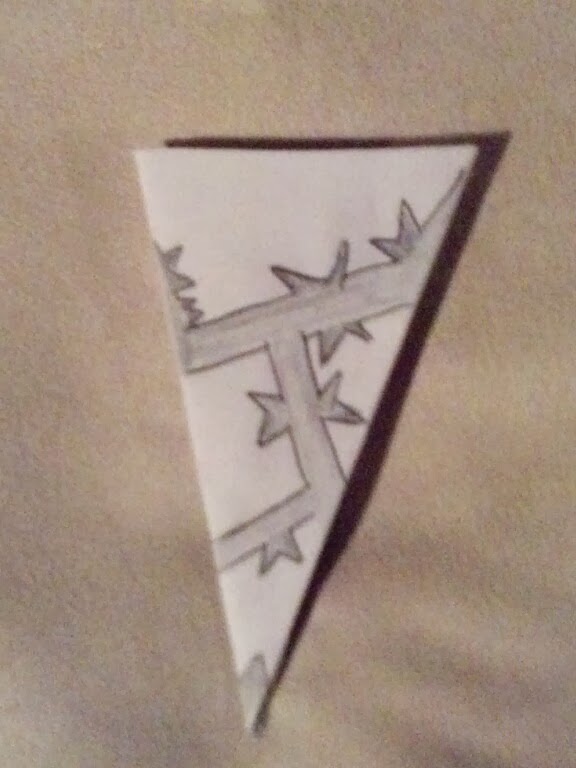
Here are a few examples of snowflakes i made ( I did not design these myself i got some designs off of Google.You may also find many more designs at different website). Feel free to draw these. What ever is shaded in pencil DO NOT CUT. Cut everything that is white.
Here are a few other snowflakes i made.
Cut a couple of very long pieces of yarn. I did not measure the length of the yarn i cut. I estimated from ceiling to about 1 foot off the floor. Then cut some shorter pieces of yarn half the size of the longer piece. Take a piece of tape and grab a snowflake. Tape the snowflake to the yarn. I taped the snowflakes in a random order, mainly taping the big snowflakes on the longer string and the smaller snowflakes on the shorter string.
Lastly, tape the yarn to the ceiling in any random order in any wall in your home or even behind your Christmas tree to add a little more effect to your tree.


No comments:
Post a Comment