Saturday, November 16, 2013

D.I.Y all the time! Sea animal "canvas" silhouettes

D.I.Y all the time!

Sea animal "canvas"

silhouettes  


What you are going to need: -2 cereal boxes (family size) - four printed out animals templates -white paint -yellow paint, -orange paint -aqua blue paint -navy blue paint -pencil -glue gun -scissors - push pins -different size paint brushes - ruler   
 * I did not use the Honey Bunches cereal box it was too small. I used a family size box of Lucky Charms.

 Keep your templates no bigger than 8x10 inches or different measurements will have to made to fit each canvas.
*That is why i had to draw the sea hose smaller to fit the 8x10 inch measurements.
Cut out each animal.

To make the canvases cut your cereal box open at ONE END not both. (Cutting from both sides may ruin measurements). Measure your box the big rectangle in the middle is 8x10 inches and the tabs on the sides are 1 in. Draw out four of these outlines.
 Cut out the box outlines and begin bending in the sides following the lines to form the canvas.
 At first i was using tape to stick together the sides but they ended up looking like...
 This it what it looked like when i taped the edges together. Not pretty.
 Glue the edges together.
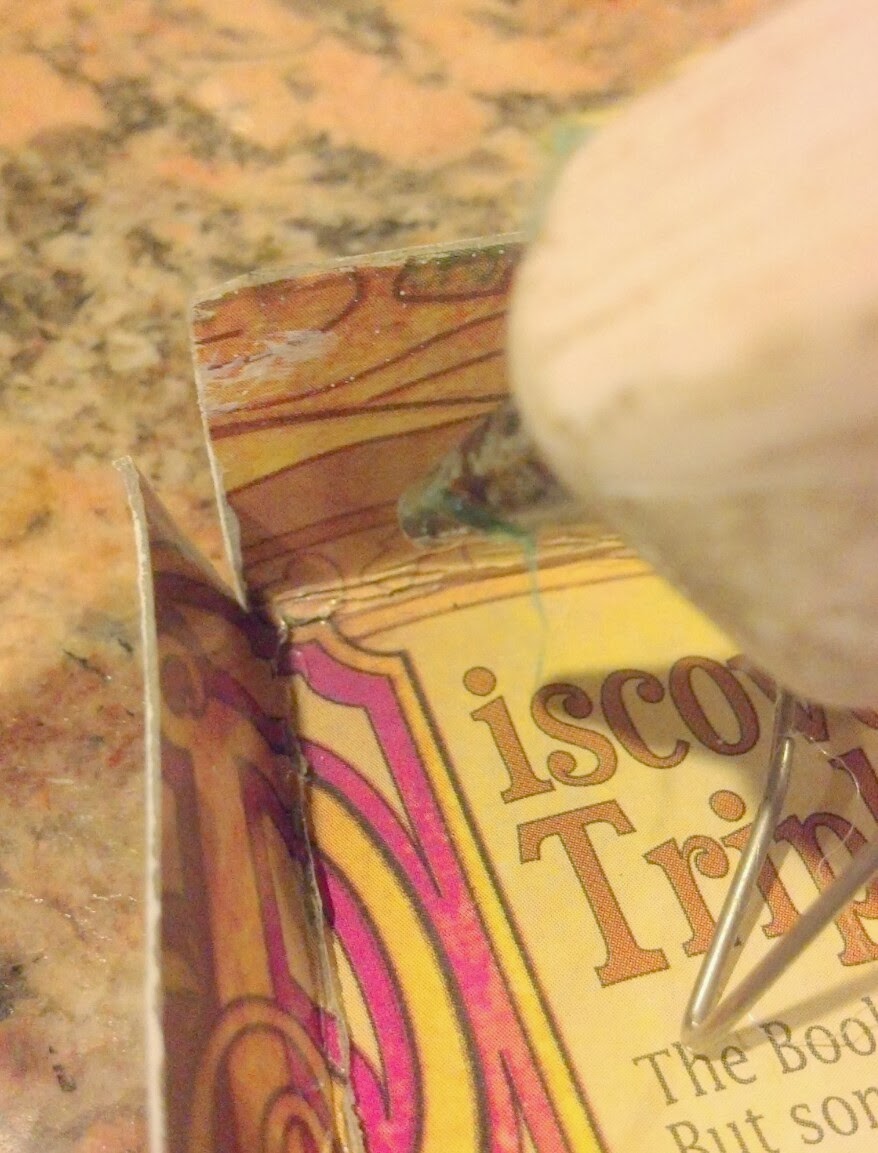
 Add glue to one side of the tab and attach the corresponding tab.

 Hold corners together until glue dries.

 *The canvases are already painted when i glue the corners because i didn't decided to glue the edges until after i painted the canvases and realized how the corners were not attached.
Paint thin a white layer on each canvas. Let dry for 25 min.


 This is how it looks when all canvases are all painted and dried.

 Place the templates on top of each canvas.

 Trace each animal template to each canvas.
Should look like this once all animals are traced onto each canvas.


 Begin to paint.

 Paint an outline around each animal. Then, cover the canvas.

Once all canvases are painted they should look like this.

 From the extra scraps you cut out grab a piece that is 1x5 in. Paint white.
 Paint an inch width thick of each color.
 Cut out each piece and bend them in half.

 With the glue gun add glue to the bottom end. (Any sides is the bottom.)

 Hold the glued piece to the inside of the canvas. Hold until glue dries. Do to each canvas.
 Really blurry picture, but should look like this once it is glued on.
Hang up the canvases with push pins.


Rainy day that is why both pictures look kind of gloomy.

Wednesday, November 13, 2013

D.I.Y all the time! Nail designs

D.I.Y all the time!

Nail Designs


 Very cute and simple D.I.Y nail designs with all at home items.


 Closer look of ^ this design. Hard to tell in collage.


Saturday, November 9, 2013

D.I.Y all the time! Galaxy Tights

D.I.Y all the time!

Galaxy Tights

So i have been debating about writing this blog for a couple of days now because it seems to me that explaining and showing you how to make these tights may be a bit too complicated to do, picture by picture with some instructions to follow. I decided what the heck it's worth a shot. Ill try and do my best because i really love the way they came out. If you have any questions please feel free to ask. Here goes nothing!

*A basic tip before starting is when painting and blending the paint, the trick is to start off dark for the background and
then lighten the colors as you go. 


What you need:
Old toothbrush
Plates
Towel
Popsicle sticks -optional
Thin paint brush
Sponges- 5 pc. Crafts Smart $3.99
Black tights- $4.99 clothing store
Tulip Soft Matte Raisin paint- $1.99 4fl. oz.
Tulip Soft Matte Azalea paint- $1.99 4 fl. oz.
Tulip Soft Matte Royal Blue paint- $1.99 4 fl. oz.
Tulip Soft Matte white paint- $1.99 4 fl. oz.
                                              (id recommend a bigger bottle of white paint)


FIRST, 
Grab your paints and plates and make two separate blobs of paint. I know in the picture there are three but the third blob i didn't really need. Two blobs is perfect one keep at its original color. The second one add white paint to lighten up the color. So each plate should have a dark and light shade. Mix paint with Popsicle sticks. 

SECOND,
Grab a sponge and dip it in the dark royal blue paint. Start dabbing it on the top left corner of the tights.


THIRD,
Leave a unpainted circle at the edge of the tights.

FOURTH,
Fill in the unpainted circle with white paint.


FIFTH,
Start dabbing on the dark azalea paint. Right on top of the white paint and on some of the edge of the dark royal blue.


SIXTH,
Start dabbing a circle shape with the light azalea paint in the middle of the dark azalea paint.

SEVENTH,
At the edge of where every color meets a new one. As in dark royal blue touches dark azalea and dark azalea touches the light azalea. Begin to blend in those edges. To blend just dab the edges with a sponge A LOT mixing both both colors together. You can also keep adding paint as you blend.
*Blending in the colors will avoid having harsh lines between colors, making
 the tights look more realistic.


EIGHTH,
Under what you just painted. Go back to the dark royal blue and start dabbing it down the thigh part of the tights. Stopping right before you get to the knee.

NINTH,
Grab your raisin color paint and begin dabbing on the paint where the dark royal blue ends. Make more of a square shape with soft edges, no corners.


TENTH,
Once again with the dark royal blue drag it down to the bottom of the tights.
ELEVENTH,
Go back to the raisin colored square you made. In the middle of it, begin to dab a circle shape with the light raisin paint.
TWELFTH,
Make sure to blend it in well. Start dabbing some white paint in the middle as well.
THIRTEENTH,
At the edge where the dark royal blue and the dark raisin meet. Add some light azalea paint in between the two and blend.


SHOULD LOOK LIKE THIS!


FOURTHEENTH,
At the bottom right corner. Begin to dab on the light royal blue paint in a triangle shape.


FIFTEENTH, 
At the corner of the bottom right tights dab on white paint, making the same triangle shape.

DO NOT BE AFRAID OF GETTING MESSY. ADD AND MIX COLORS. TRUST ME ADDS A LOT MORE DETAIL MAKING THE TIGHTS APPEAR A LOT MORE REALISTIC.
SIXTEENTH,
Where the dark royal blue and the light royal blue triangle meet dab on some light azalea paint in between the two blend well.

SEVENTEENTH,
On top of the light azalea paint. Dab on some dark raisin paint again blend well.


THE LEG SHOULD NOW LOOK LIKE THIS.
 EITGHTEENTH,
 Grab your toothbrush and dip it into the white paint.


NINTEENTH.,
Run your thumb through the bristles. Going back and forth up and down the tights. This will make all the tiny tiny little "stars" around the galaxies.


SHOULD NOW LOOK LIKE THIS WITH ALL OF THE STARS.

TWENTIETH,
With the thin paint brush dip it int the white paint and begin to add random dots all over tights. This is making bigger "stars".

THAT IS HOW I DID ONE SIDE OF THE TIGHTS. GO AHEAD AND CONTINUE WITH THE REST OF THE SIDES. MAKING THE SAME COLOR PATTERNS YOU DID ON FIRST SIDE, BUT NOT MAKING THE SAME EXACT DESIGN ON EACH SIDE. CHANGE UP THE GALAXIES AND WHERE YOU PLACE THEM.

 THIS IS HOW THE TIGHTS CAME OUT WHEN I FINALLY FINISHED THEM.
GO AHEAD AND COPY WHAT I HAVE HERE IF IT MAKES IT EASIER FOR YOU.


     *I WAS A LITTLE SCARED WHEN I PUT THEM IN THE WASHER. AFRAID THE THE PAINT WOULD COME OFF, BUT NOPE THIS PAINT WORKED PERFECTLY. NO PAINT CHIPPING AND ALL THE PAINT IS STILL THERE. I DIDN'T THROW THEM IN THE DRYER THOUGH I LET THEM AIR DRY. ID RECOMMEND YOU DO THE SAME JUST IN CASE.

Tuesday, November 5, 2013

D.I.Y all the time! Lemon and Honey exfoliating scrub

D.I.Y all the time! 

Lemon and Honey 

exfoliating scrub

This very simple yet very effective exfoliating scrub is amazing! Just takes about 10-15 min. to make and last a couple of showers. 
Benefits of Lemon: Lemon has a natural astringent which tightens pores and brightens complexion.
Benefits of Olive Oil: Soothes and heals skin. Natural moisturizer. 
Benefits of honey: Keeps complexion hydrated; Perfect for age prevention. A bonus the antibacterial properties benefit acne-prone skin by reducing break-outs.
Benefits of Sugar- Natural exfoliater, which cleans pores and evens out skin tone.

Basically leaves my face and elbows feeling like a baby's bottom!


 What you will need:

 - 1 Tbls. Olive oil
 - 1 Lemon
 -  3 1/2 Tbls. 100% Pure Honey
 - 1/2 Cup Granulated sugar
 - Tupperware (I bought a glass jar) for storage
 - Plate
 - Fork
 - Measuring cups


 STEP 1:
~ Cut and squeeze your lemon into plate.


 STEP 2:
~ Add the 1 Tbls. of Olive Oil.


STEP 3:
~ Stir together.


*Warm up the honey in the microwave for a few seconds to make it easier to pour and measure.

STEP 4: 
~ Measure and add the 3 1/2 Tbls. of Honey.
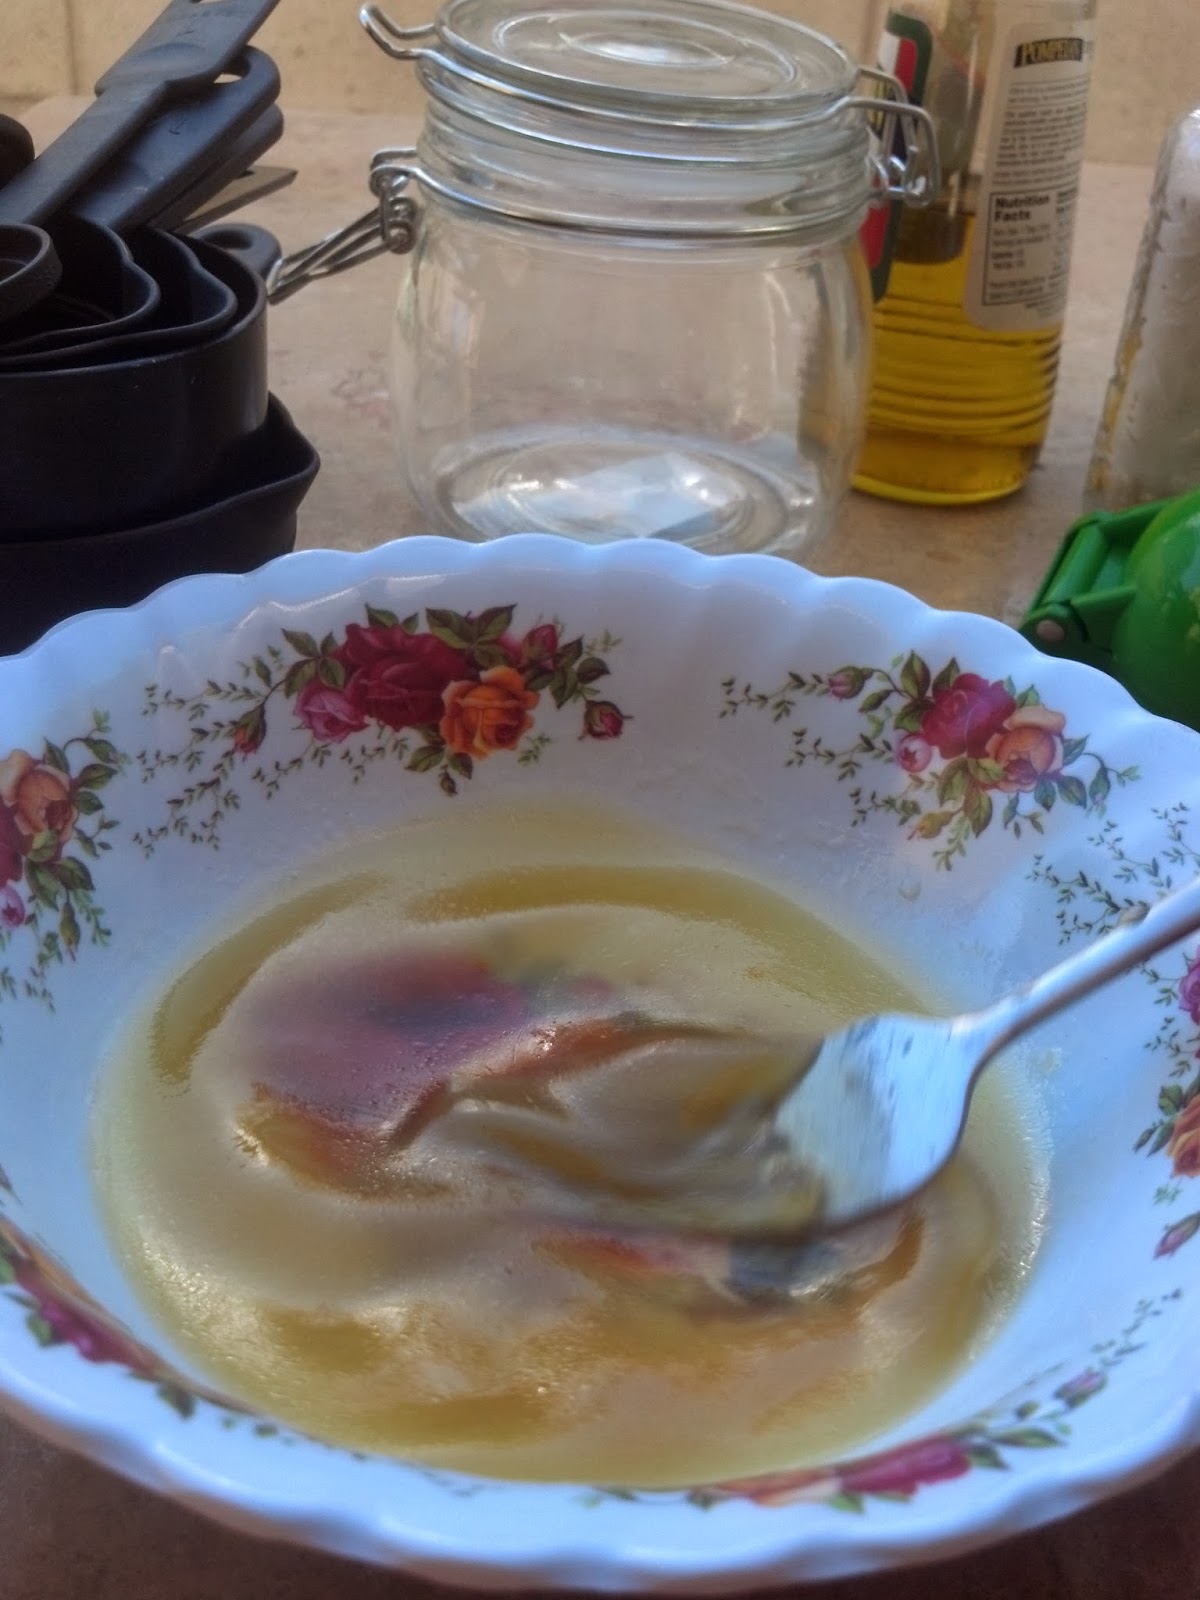


 STEP 5:
~ Stir again.

-The consistency at this point is still liquidy, it is still not thick. It will thicken up in the next step.


 STEP 6:
~ Add 1/2 Cup of sugar. Best way to mix is add portion of sugar then mix together, add more sugar mix together, add the rest of sugar and mix really well together.


 - By now the consistency of the scrub has become a lot more thick. Reminded me a little of apple sauce.

 - You may also add some more sugar if you think there is not enough, to get the scrubbing job done.


 STEP 7:
 ~ Pour into jar.


If you are using exfoliant for your face, grab exfoliant your fingers and apply to your face and rub on in gentle  circular motions. Leave on face for 1-2 minutes. Rinse.

If you are using exfoliant for your body, apply exfoliant to your whole body, Best if you focus more on your what may be more of your rough areas such as elbows, knees, feet etc. Rubbing the exfoliant on those areas in circular motion for 3-4 minute. Rinse.

HOPE THIS HELPS!